Alright, let’s face it – few things can sour an RV trip faster than discovering your house batteries are dead as a doornail and, worse yet, not charging. You’re miles from nowhere, or maybe just trying to relax at the campsite, and suddenly, no lights, no fridge… total bummer. That quiet hum of the converter is gone, or maybe you just got back from driving and realized the batteries didn’t charge up like they should have.
I’ve been working with RV electrical systems and batteries here in the قوة كامادا rv battery manufacturers in china for over 15 years, designing, troubleshooting, and seeing firsthand what makes these systems tick – and what makes them stop ticking. Trust me, I’ve seen it all, from simple oversights to truly fried components.
The good news? A lot of the time, the fix for an بطارية عربة سكن متنقلة not charging is simpler than you might think. Before you resign yourself to a costly repair bill or throw your hands up in frustration, let’s walk through a logical, step-by-step process to figure out what’s going on. This guide is designed for you, the RV owner, to safely check the most common culprits.
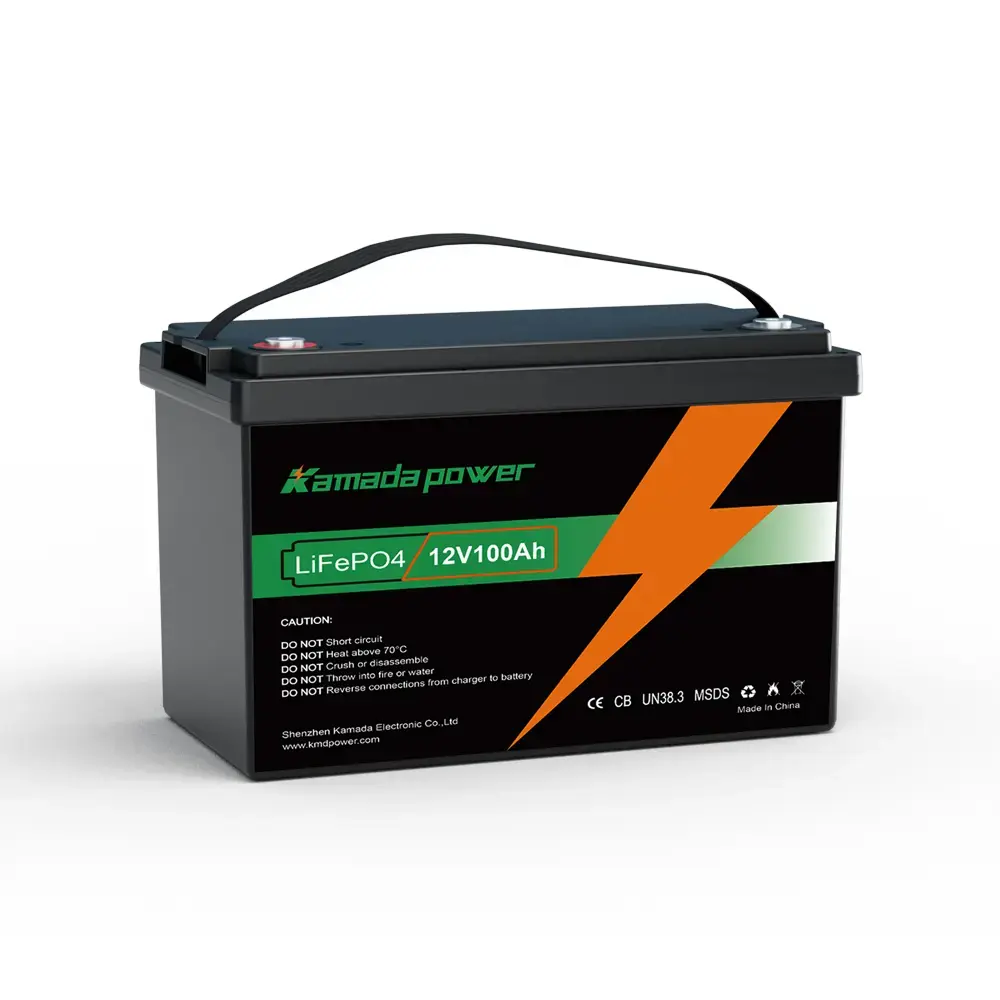
Kamada Power 12V 100Ah RV Battery
Safety First! Before You Touch Anything (CRUCIAL!)
Okay, pump the brakes for a second. Before we dive into diagnostics, we have to talk safety. RV electrical systems, especially the battery bank, pack a punch. Messing around without proper precautions can lead to sparks, shocks, equipment damage, or even serious injury. Don’t skip this part.
- Disconnect Power Sources: Turn OFF shore power at the pedestal, shut down your generator, and make sure the RV engine is OFF before working near batteries or related components.
- Disconnect Batteries (If Needed): For checks involving cleaning terminals or directly testing battery voltage without charge sources, it’s safest to disconnect the negative (-) battery cable FIRST, then the positive (+). When reconnecting, connect positive (+) FIRST, then negative (-). This minimizes the chance of accidental shorts.
- Wear Safety Gear: Always wear safety glasses (batteries can vent corrosive substances) and gloves.
- No Sparks, No Flames: Batteries (especially lead-acid) can release flammable hydrogen gas, particularly when charging. Keep sparks, cigarettes, and any open flames far away. Ensure good ventilation if working indoors.
- Remove Jewelry: Metal rings, watches, and necklaces are excellent conductors. Take them off before working near battery terminals.
- When in Doubt, Get Help: If you’re uncomfortable with any step, unsure about what you’re seeing, or suspect a major component failure, stop and call a qualified RV technician. There’s no shame in knowing your limits. Your safety is paramount.
Start Here: The Simple Checks That Solve Half the Problems
Seriously, before you even think about the converter or isolator, let’s knock out the easy stuff. Based on my experience, a surprising number of “my battery isn’t charging” issues boil down to one of these simple things.
The Usual Suspect: Is Your Battery Disconnect Switch ON?
Trust me, check this first! I’ve solved countless ‘no charge’ calls with this switch. Most RVs have a master “house” battery disconnect switch, often a big red key-style switch or a push-button located near the battery bank, in a utility bay, or just inside the entry door. Its job is to cut power between the batteries and most of the RV’s 12-volt systems to prevent parasitic drain during storage.
- Find it: Locate your switch.
- Check it: Is it firmly in the ‘ON’ or ‘Connected’ position? Sometimes they get bumped or accidentally turned off.
- Cycle it: If it seems on, try turning it fully OFF, wait a few seconds, then turn it firmly back ON. Sometimes the contacts get a little iffy.
Hunt Down Tripped Breakers and Blown Fuses
Just like your house, your RV has circuit breakers and fuses protecting its electrical circuits. A tripped breaker or blown fuse in the charging path will stop power cold.
- Main 12V Fuse Panel/Breaker Box: Find your RV’s 12-volt distribution panel (often looks like a smaller version of a home breaker box, sometimes combined with the 120V AC breakers). Look for any small fuses that might be blown (check visually or with a fuse tester) or any resettable DC circuit breakers that have tripped (often a small button pops out). Pay special attention to anything labeled ‘Converter,’ ‘Battery,’ ‘Main,’ or ‘Charger.’
- Converter Location: Some converters have their own set of fuses or circuit breakers directly on the unit. Check the converter itself (its location varies – could be under a dinette seat, behind a panel, in a basement compartment).
- Near the Batteries: There’s often a large fuse or resettable circuit breaker located very close to the house battery bank (within a few feet of the positive terminal) to protect the main cable. Check this carefully.
- Expert Tip: Don’t forget about less obvious inline fuses. I once spent an hour chasing a charging problem that turned out to be a small, easily missed inline fuse holder tucked away in the wiring near the battery box. Look closely at the wiring coming off the positive battery terminal.
Check Those Battery Connections: Clean & Tight is Right!
This is another huge one. Electricity needs a clean, solid path. Loose or corroded battery terminals are like a roadblock for charging current.
- Visually Inspect: Look at all the cable connections directly on your house battery terminals (positive and negative).
- Tightness Check: With the main disconnect switch OFF, gently try to wiggle each cable clamp on the battery posts. Is there any movement? If so, use the correct size wrench to snug them up. Don’t overtighten and strip the terminal, but they need to be firmly secure.
- Look for Corrosion: See any white, blue, or greenish powdery stuff caked around the terminals or cable ends? That’s corrosion, and it’s a fantastic insulator – exactly what you don’t want.
- Cleaning Procedure (Safety First! Disconnect Negative First!):
- Disconnect the main negative (-) cable(s) from the battery bank.
- Disconnect the main positive (+) cable(s).
- Mix a paste of baking soda and water.
- Use a dedicated battery terminal brush (or an old toothbrush/wire brush) to scrub the battery posts and the inside of the cable clamps thoroughly with the paste.
- Rinse carefully with a small amount of clean water (avoid getting water into battery vents if applicable).
- Dry everything completely with a clean rag.
- Reconnect the positive (+) cable(s) first and tighten securely.
- Reconnect the negative (-) cable(s) last and tighten securely.
- Applying a thin coat of dielectric grease or battery terminal protector spray after cleaning can help prevent future corrosion.
- Check the Ground: Trace the main negative battery cable to where it bolts onto the RV’s metal frame. This ground connection is critical. Ensure it’s clean, free of rust, and securely fastened. Experience Tip: A bad ground causes all sorts of weird electrical gremlins, including charging issues!
Power Source Sleuthing: Where Should the Charge Come From?
If the simple stuff checks out, the next step is to see if the charging source itself is actually delivering power to the battery system. RVs typically have three ways to charge the house batteries:
Plugged In? Troubleshooting Shore Power & Generator Charging (Converter Check)
When you’re plugged into shore power (at a campground or home) or running your onboard generator, the converter is responsible for taking that 120-volt AC power and converting it into 12-volt DC power to charge your batteries and run your DC appliances.
- Confirm AC Power: First, make sure you actually have 120V AC power reaching the RV. Is the shore power cord plugged in securely? Is the campground pedestal breaker on? Is the generator running and putting out power (check the generator’s own breaker)? You might need to check your RV’s automatic transfer switch if you have one.
- Listen for the Converter: Many converters have a cooling fan that runs, especially under load. When plugged in or with the generator running, can you hear the fan cycling on? (Note: some newer or smaller converters might be silent or only run the fan occasionally).
- Check Converter Output (Requires Multimeter & Caution): This is the definitive test.
- You’ll need a multimeter set to DC Voltage (often marked V DC, V—, or a V with a straight line and dashes). Use a range appropriate for 12V systems (e.g., 20V DC range).
- Carefully touch the multimeter’s red probe to the main positive (+) output terminal or wire coming out of the converter, and the black probe to the main negative (-) output terminal or wire (or a known good chassis ground).
- With the converter powered ON (shore power/generator running), you should see a voltage reading typically between 13.2V and 14.4V DC (sometimes higher for specific charge modes, check your converter manual if possible).
- If you read 0V or a voltage significantly lower than ~13.0V (like battery voltage or less), and you’ve confirmed AC power هو getting to the converter and its breakers/fuses are okay, then the converter itself is likely faulty.
- Expertise Note: The exact charging voltage varies by converter model and charging stage (bulk, absorption, float). But a healthy converter actively charging should be well above the battery’s resting voltage (which is around 12.6V for fully charged lead-acid).
Driving? Is Your Engine’s Alternator Charging the House Battery? (Isolator/Relay Check)
Most motorhomes (and some towables with specific wiring) charge the house batteries while the engine is running, using the vehicle’s alternator. A battery isolator أو charge relay/solenoid manages this connection. Its job is to connect the alternator to the house batteries only when the engine is running and to prevent the house systems from draining your engine starting battery when parked.
- How to Test: This usually requires a multimeter.
- With the engine OFF, measure the voltage directly at your house battery terminals. Note the reading (e.g., 12.5V).
- Safely start the RV’s engine. Let it run for a minute or two.
- Carefully re-measure the voltage directly at the house battery terminals.
- You should see the voltage jump up significantly, typically into the 13.8V to 14.4V range (this comes from the alternator).
- If the voltage doesn’t increase noticeably (stays near the resting voltage you measured initially), then the charging path from the alternator isn’t working. This often points to a faulty isolator/relay, a blown fuse in that specific charge line (sometimes near the chassis battery or the isolator), or a wiring issue.
- Experience Note: These isolator relays are common failure points over time. You might hear a ‘clunk’ sound near the engine or batteries shortly after starting the engine if the relay is engaging correctly. If you hear nothing, and the voltage doesn’t rise, the relay is a prime suspect.
What About Solar? (Brief Check)
If your RV has solar panels, they charge through a solar charge controller.
- Check the display or indicator lights on your solar charge controller. It should give you some status information (e.g., “Charging,” “Bulk,” “Float,” or show amps flowing). Consult its manual.
- Ensure panels are clean and not shaded. Check any fuses or breakers specific to the solar system installation.
Could the Battery Itself Be the Issue?
Sometimes, the problem isn’t the charging source, but the battery (or batteries) simply can’t accept or hold a charge anymore.
- Quick Battery Health Clues: Voltage, Age, and Visuals
- Resting Voltage: Disconnect shore power/generator, turn off major DC loads, and let the batteries sit for an hour or more (ideally longer). Measure the voltage directly at the terminals. A fully charged lead-acid battery should be around 12.6V-12.7V. Below 12.0V is heavily discharged and potentially damaged. Consistently low resting voltage after attempting a charge suggests a problem.
- Age: How old are your house batteries? Typical lead-acid RV batteries last 3-6 years, depending heavily on usage and maintenance. If yours are getting up there in age, they might simply be at the end of their useful life.
- الفحص البصري: Look for physical damage, cracked casings, or significant bulging/swelling (especially on sealed AGM or Gel batteries), which indicate internal failure.
- Lead-Acid Maintenance Check (If Applicable)
- If you have flooded lead-acid batteries (with removable caps), carefully check the electrolyte level. If the plates inside are exposed, top them off using distilled water only to just above the plates or to the indicator mark. Low water levels will permanently damage the battery.
Knowing When to Wave the White Flag: Calling a Pro
You’ve checked the switches, fuses, connections, tested converter output, checked alternator charging, and glanced at the battery health. If you’re still not getting a charge, or if you found a definite issue like a dead converter or a battery voltage that won’t budge, it might be time for professional help.
Don’t hesitate to call a qualified RV mobile technician or take your rig to a service center if:
- You’re uncomfortable performing any of the tests, especially with a multimeter.
- You suspect a major component failure (converter, isolator, internally damaged battery).
- You’ve tried all the basic steps and the problem persists.
- You see signs of damaged wiring (melted insulation, burn marks).
Expertise Note: Sometimes diagnosing tricky intermittent issues or internal component failures requires specialized diagnostic tools and a deeper understanding of the specific system in your RV model.
الخاتمة
Troubleshooting an بطارية عربة سكن متنقلة that won’t charge can feel daunting, but by following a logical process – starting with the simple, common culprits – you can often pinpoint the issue yourself. Remember the key takeaways:
- Safety First, Always!
- Check the Easy Stuff: Disconnect switch, breakers/fuses, and clean/tight connections solve a lot of problems.
- Verify Your Charging Source: Is the converter, alternator, or solar controller actually sending power?
- Consider Battery Health: Don’t forget the battery itself might be the issue, especially if it’s old.
Hopefully, this guide has empowered you to tackle this common RV headache. Getting your power system back online means getting back to enjoying your adventures!